Don’t let energy slip through the ceiling: A quick guide to insulation
Upgrading your attic insulation is one of the easiest and most effective ways to lower your energy bills, make your home more comfortable and boost energy efficiency year-round. Older homes can save as much as 15% on energy costs by improving attic insulation.
Step 1: Seal air leaks
Before adding insulation, take care of air leaks. Common trouble spots include:
- Recessed lighting
- Chimneys
- Attic hatches or pull-down stairs
- Pipes, ductwork and wiring
Seal these gaps with caulk, expanding foam or weather stripping. This helps keep warm air in during winter and hot air out during the summer.
Step 2: Understand R-values
R-value measures how well insulation resists heat flow based on its type, thickness and density — the higher the number, the better. How much you need depends on your climate:
- Mild climates: R-30 to R-38 (10-14 inches)
- Cold climates: R-49 or higher (16-18 inches)
Quick check: If you can see the ceiling joists, you probably need more insulation.
You don’t need to remove existing insulation unless it’s wet, moldy or contaminated. Otherwise, it’s safe to leave in place and add new insulation on top.
Step 3: Pick the right type
There are two main types of attic insulation:
- Batt or roll insulation:
- Easier to install for DIYers.
- Must be cut precisely to avoid gaps, especially around obstructions like pipes and vents.
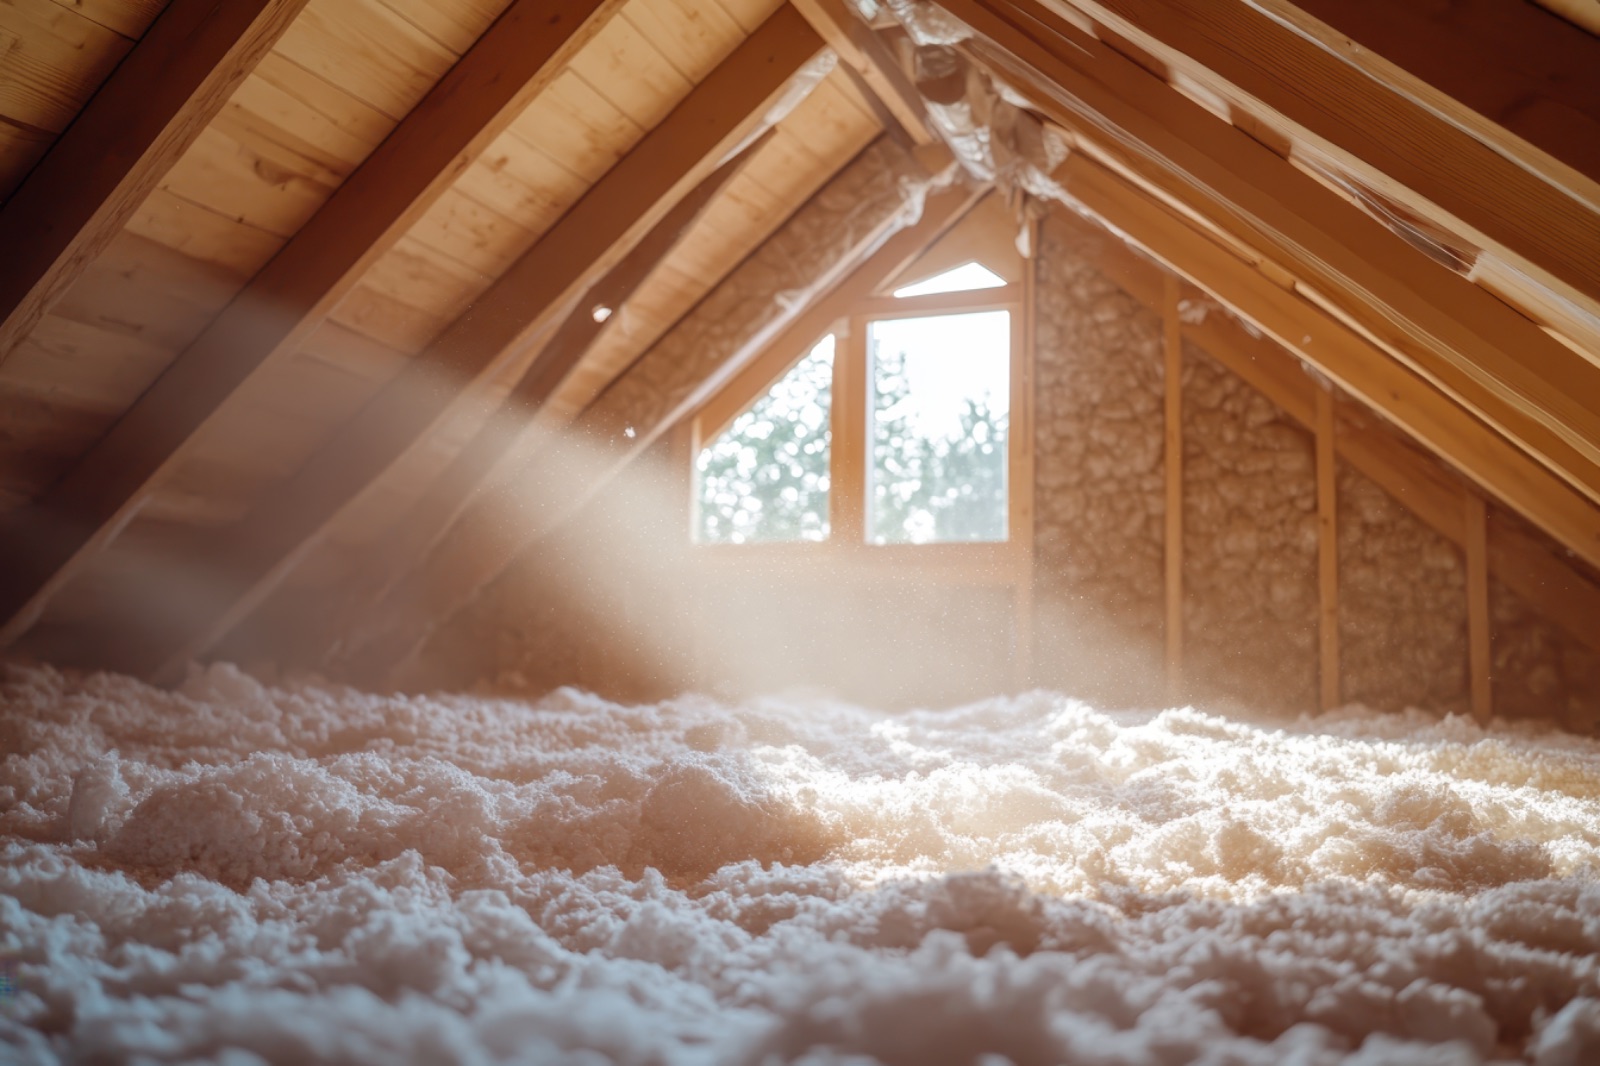
- Blown-in or loose fill insulation:
- Installed with a machine that “blows” insulation into place.
- Fills gaps more evenly; great for hard-to-reach areas.
- Blown-in cellulose is the top pick for attics due to its high R-value, good coverage and air-sealing benefits.
Step 4: Plan for storage
It’s tempting to use the attic for storage, especially for those holiday decorations, but if you’re looking to maximize efficiency, store them elsewhere.
If you store items in your attic, don’t flatten the insulation. Build a raised platform high enough to keep insulation at the recommended depth.
Step 5: Check old wiring
If your home is older, inspect attic wiring before insulating. Cracked or brittle wire insulation can be a fire hazard — have a professional electrician replace it if needed.
Step 6: Insulate the attic hatch
Whether you have an attic hatch or a dropdown ladder, this opening can leak lots of air if it’s not sealed properly.
For standard hatches:
- Add insulation to match your attic’s R-value.
- Upgrade to a pre-insulated panel or ¾-inch plywood.
- Install weather stripping and a dam to prevent loose-fill from spilling.
For dropdown ladders:
- Add an insulated cover box in the attic.
- Seal the frame with foam or weather stripping.
- Be sure to leave room for the folded ladder.
You’ll feel the difference
A well-insulated attic means lower energy bills and a more comfortable home, whether it’s blazing hot or freezing cold outside. Start by sealing leaks, checking your R-value needs and picking the right insulation for your space — your future self (and wallet) will thank you!
Efficiency tips:
It’s tempting to use the attic for storage, especially for those holiday decorations, but if you’re looking to maximize efficiency, store them elsewhere. If you store items in your attic, don’t flatten the insulation. Build a raised platform high enough to keep insulation at the recommended depth.
Give our Member Services team a call today to schedule a FREE energy audit for your home: 1-800-468-2176.